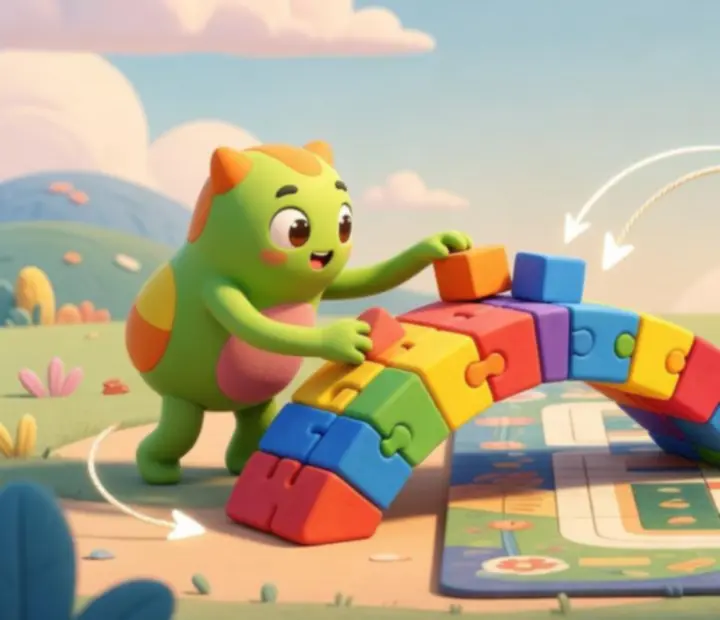
Meet the Playful Cast of Cut the Rope 2

Get to know Om Nom and his inventive helper friends, the Nommies. Each character adds a new twist to physics puzzles, helping Canadian families feed candy, collect fruit, and race the clock together.

Family-friendly character encyclopedia
Start with Om Nom
Puzzle helper picker

Choose the right character for your goal in Cut the Rope 2.

Tip: Match a Nommie to the level objective. For example, Roto for tricky candy routes, or Boo for bouncy time challenges.

Om Nom: The Candy Adventurer

Om Nom is the lovable green creature at the heart of Cut the Rope 2. With a bottomless love for candy and a fearless sense of adventure, Om Nom leads you through forests, cities, junkyards, and tunnels in search of the sweetest solutions.

Playful green-monster-inspired silhouette of Om Nom in a forest-like puzzle environment

Core role

Receive the candy and complete the main objective in every level.

C

Progression impact

Feeding Om Nom unlocks new stages, environments, and special challenges.

Appears in every environment

How Om Nom shapes every puzzle

Positioning • Timing • Safety

Om Nom may not swing, fly, or build bridges, but every physics puzzle in Cut the Rope 2 is secretly built around where Om Nom sits and how the candy reaches him. When you understand his position, you understand the route your candy needs to travel.

Best situations to focus on Om Nom

  • Levels where the candy must avoid spikes, gaps, or moving obstacles before reaching him
  • Puzzles with multiple potential paths, where you need to choose the safest candy route
  • Time challenges, where you decide between quick but risky cuts and slower, safer paths

Common mistakes with Om Nom

  • Ignoring Om Nom's position while focusing only on collectables like stars or fruit
  • Cutting ropes too early, sending candy past Om Nom or out of reach
  • Not planning how helpers like Boo or Roto will move Om Nom before you start cutting

Canadian family tip: When playing together, have one person watch Om Nom while another watches the candy path. Talk through each rope cut so everyone understands why Om Nom is waiting where he is.

Who Are the Nommies?

The Nommies are Om Nom's seven quirky helpers. Each one brings a special ability that changes how candy, fruit, and objects move through the level. Mastering these friends is the key to solving Cut the Rope 2's most clever physics puzzles.

Seven helpers, three main objectives

Most puzzles in Cut the Rope 2 can be played in three different ways: feeding Om Nom, collecting extra fruit, and racing the clock. Different Nommies shine in different situations, so choosing the right helper is part of the fun.

Feed Om Nom

Focus on safe, reliable routes to deliver candy straight to Om Nom, even if you skip some bonuses.

Best helpers: Roto, Lick, Toss

Collect the fruit

Replay levels to sweep up extra fruit hanging in harder-to-reach spots.

Best helpers: Blue, Snailbrow, Lick

Beat the clock

Move fast and plan ahead to grab candy, stars, and fruit before time runs out.

Best helpers: Boo, Toss, Roto

Many Canadian players treat the first run of a level as a "practice" to understand which Nommie is most important. On later runs, they focus on fine-tuning fruit paths and time challenges.

The Nommies: Abilities, Best Uses, and Mistakes to Avoid

Use this mini-encyclopedia to learn how each Nommie changes gravity, movement, and puzzle routes. Every helper below includes ability basics, smart strategies, and common pitfalls.

Roto: The Roving Wingman

Precision movement • Route control • Safe deliveries

Stylized diagram showing Roto carrying Om Nom or objects through a forest puzzle route

Ability

Roto uses its spinning propeller to carry Om Nom or objects to new spots along a preset flight path. Think of Roto as a flying platform that lets you redraw the puzzle's layout.

Puzzle applications

  • Moving Om Nom closer to the candy after you change rope connections
  • Repositioning boxes or candy to avoid spikes, gaps, or hazards
  • Creating new angles for falling or swinging candy to collect extra stars

Best situations

Use Roto in levels where the original candy path feels unsafe or too short. If you see candy dropping into danger or missing Om Nom completely, Roto can often create a safer landing.

Common mistakes

  • Letting Roto fly past the best drop point before cutting a rope
  • Focusing only on Om Nom and forgetting to use Roto to collect stars and fruit
  • Moving objects too early, causing them to block candy instead of helping it

Recommended combinations

Roto + Lick: Build a tongue bridge first, then reposition Om Nom for a safe catch. Roto + Boo: Use Boo to bounce Om Nom onto Roto's path for surprise shortcuts.

Lick: The Bridge-Builder

Path-making • Gap crossing • Safety nets

Ability

Lick creates temporary sticky bridges with its stretchy tongue. These bridges behave like solid, slightly bouncy platforms that candy and objects can roll or slide along.

Puzzle applications

  • Creating safe paths over pits, spikes, or moving hazards
  • Redirecting candy toward side routes with hidden fruit
  • Connecting two separate areas so Om Nom and candy can finally "meet in the middle"

Best situations

Use Lick when you see wide gaps, hanging fruit just out of reach, or setups where candy would normally fall straight down. Bridges often turn vertical drops into sliding, star-collecting journeys.

Common mistakes

  • Placing Lick's tongue too early, blocking the candy's swing
  • Building a bridge that is too short, leaving candy stuck halfway
  • Ignoring how bridges can help fruit runs, not just the main candy path

Recommended combinations

Lick + Roto: Build the bridge first, then move Om Nom or boxes into position above it. Lick + Blue: Use Blue to lift candy onto a Lick bridge for a higher, safer route.

Blue: The Lifter

Vertical movement • Teamwork • Star chains

Ability

Blue specializes in teamwork. It can multiply itself, stacking Blues together to lift Om Nom, candy, or objects upward like a gentle elevator made of helpers.

Puzzle applications

  • Raising candy to grab high stars and fruit before dropping toward Om Nom
  • Lifting Om Nom closer to the candy to shorten risky paths
  • Moving boxes or platforms to new height levels to trigger switches

Best situations

Use Blue in vertical levels or stages with collectibles floating far above the starting area. If something important looks "just out of reach," Blue is usually the answer.

Common mistakes

  • Stacking too many Blues and sending candy above stars or fruit
  • Forgetting to plan where candy will fall after Blue finishes lifting
  • Not timing lifts with moving hazards, causing collisions at the top

Recommended combinations

Blue + Toss: Use Toss to launch candy upward, then let Blue catch and lift it higher. Blue + Snailbrow: Lift objects to walls where Snailbrow can start pushing.

Toss: The Quick-Thrower

Air time • Fast routes • High tricks

Ability

Toss helps launch objects high in the air, whether it's candy, boxes, or even other Nommies. Treat Toss like a springboard that turns slow slides into quick jumps.

Puzzle applications

  • Throwing candy through star rings or fruit clusters
  • Launching objects onto distant platforms or switches
  • Creating speed runs in time challenges by cutting corners

Best situations

Use Toss in stages that feel tall, open, or full of hanging collectibles. If a direct path looks boring or slow, Toss can usually create a faster, more exciting route.

Common mistakes

  • Throwing too early, missing important stars along the way
  • Not watching where candy will land after the throw
  • Using Toss when a safer Lick bridge or Roto route would work better

Recommended combinations

Toss + Blue: Toss for quick height, then Blue for careful vertical control. Toss + Boo: Throw candy, then bounce Om Nom into its landing spot for stylish catches.

Boo: The Bouncy Scare

Bounces • Surprise routes • Time attack

Ability

Boo startles Om Nom into bouncing, popping him into the air and changing his movement. A well-timed scare can send Om Nom toward candy, stars, or safer platforms.

Puzzle applications

  • Reaching candy or stars that sit just above Om Nom's normal position
  • Dodging hazards on the ground by jumping over them
  • Saving time in clock challenges by bouncing straight toward the candy

Best situations

Use Boo in time challenges or levels where Om Nom starts below the action. If you see candy passing close overhead, Boo may create the bounce you need.

Common mistakes

  • Scaring Om Nom when candy is too far away, wasting the bounce
  • Bouncing Om Nom into hazards because the landing spot was not planned
  • Trying to rely only on Boo instead of combining it with other helpers

Recommended combinations

Boo + Roto: Bounce Om Nom onto Roto's path for mid-air rescue moves. Boo + Lick: Bounce toward a tongue bridge that guides Om Nom into perfect candy-catching position.

Snailbrow: The Wall Climber

Side routes • Switch control • Steady pushes

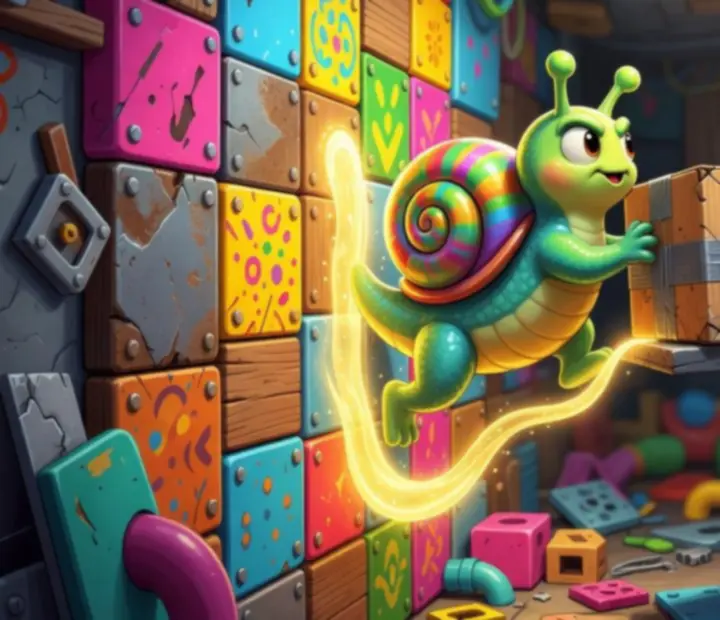
Illustrated puzzle demo showing Snailbrow climbing walls and pushing objects along ceilings

Ability

Snailbrow moves along vertical and upside-down surfaces, pushing objects and activating distant switches along walls and ceilings. It turns flat walls into moving puzzle lanes.

Puzzle applications

  • Pushing boxes across walls to drop them onto buttons or into candy paths
  • Guiding objects across ceilings to fall in just the right spot
  • Collecting fruit placed along wall routes that candy cannot reach alone

Best situations

Use Snailbrow in levels where you notice buttons, platforms, or fruit tucked against walls. If something important sits far from Om Nom and the candy, Snailbrow likely connects the dots.

Common mistakes

  • Ignoring how long it takes Snailbrow to travel, which affects timing
  • Pushing objects too far, missing the correct drop or switch activation point
  • Not combining Snailbrow's movements with Blue lifts or Toss throws

Recommended combinations

Snailbrow + Blue: Lift objects to walls, then let Snailbrow carry them across. Snailbrow + Lick: Use tongue bridges to catch falling objects guided by Snailbrow.

Ginger: The Barrier Buster

Obstacle clearing • Route opening • Risk management

Ability

Ginger's fiery power burns through certain obstacles, removing barriers in the candy's path. Once a block is gone, you often unlock new star routes and shortcuts.

Puzzle applications

  • Clearing wooden barriers that block candy or fruit
  • Opening shortcuts for time challenges or medal attempts
  • Creating extra space for moving platforms, swings, or Toss throws

Best situations

Use Ginger when you see fragile-looking blocks or barriers guarding a group of stars or fruit. If a level feels closed-in, Ginger often provides the missing doorway.

Common mistakes

  • Burning platforms that were needed later to catch candy or Om Nom
  • Clearing too many obstacles at once, making candy fall too quickly
  • Triggering Ginger before planning how new openings affect the puzzle

Recommended combinations

Ginger + Roto: Burn a barrier, then guide Om Nom or candy through the new opening by air. Ginger + Toss: Clear the path and then launch candy through the gap for stylish star runs.

Combining Powers for Clever Puzzle Solutions

The most memorable Cut the Rope 2 moments happen when you connect two or more helpers in one smooth chain of actions. Think of Nommies as puzzle pieces that click together.

Diagram showing multiple Cut the Rope 2 helpers working together to guide candy toward Om Nom

How to build a strong helper combo

Successful combinations usually follow a simple flow: create a safe path, add height or movement, then finish with a precise catch. Here are a few family-friendly examples to try:

Roto + Lick

Let Lick build a bridge across a dangerous gap, then use Roto to move Om Nom so the candy slides along the tongue and lands directly in his mouth.

Great for: Safe feeding and star routes.

Blue + Toss

Use Toss to launch candy upward through stars, then let Blue multiply to lift the candy even higher before it drops back toward Om Nom.

Great for: Collecting hard-to-reach fruit.

Boo + Roto

Bounce Om Nom with Boo so he lands on Roto's path. Then ride with Roto until you're ready to drop onto the perfect candy catch.

Great for: Speedy time challenges.

Players across Canada often experiment by solving a level the "easy" way first, then replaying it to add one more helper to improve stars, fruit, or time. Small tweaks can uncover brand-new routes.

Tips for Choosing the Right Helper

Every level in Cut the Rope 2 nudges you toward a certain helper. Spotting that hint makes the puzzle feel fair and rewarding, especially for younger players.

When your goal is to feed Om Nom

Look for direct, dependable paths. Focus on helpers that create safe, simple routes from candy to Om Nom.

  • Roto for carrying Om Nom or candy away from danger
  • Lick for building stable bridges across risky gaps
  • Ginger for clearing blocks that completely block the candy

When your goal is to collect fruit

Fruit often sits off the main route. Helpers that change height or path shape work best.

  • Blue to lift candy or Om Nom toward floating fruit
  • Snailbrow to push objects along walls that touch fruit
  • Lick to angle candy toward side routes with extra rewards

When your goal is to beat the clock

Time challenges reward bold, efficient moves. Choose helpers that skip slow steps.

  • Boo to bounce Om Nom directly into the action
  • Toss to throw candy through multiple stars at once
  • Roto to avoid long, winding routes and fly straight to the goal

Common Mistakes and How to Avoid Them

Even experienced players sometimes waste a Nommie's power or miss clever combos. Understanding these patterns helps kids and adults improve without frustration.

Spending helper powers too early

Many players trigger a Nommie as soon as it appears. In Cut the Rope 2, patience is powerful—especially in Canada where shorter play sessions are common on transit or between activities.

  • Wait and watch one full candy swing before using Toss or Boo.
  • Test routes without fruit first, then add collectibles later.
  • Count to three out loud with younger players before cutting a key rope.

Ignoring combo opportunities

Levels are often designed so that two helpers share the same puzzle. If a level feels impossible with one Nommie, look for a second character near the main route.

  • Trace the candy's ideal path with your finger on the screen.
  • Circle (in your mind) where a helper could change direction or height.
  • Ask: "Which Nommie could fix the hardest part of this path?"

Focusing only on one objective

Some players try to feed Om Nom, collect fruit, and beat the clock in a single run. While it is sometimes possible, it can feel stressful for younger kids.

  • First run: Feed Om Nom with safe helpers like Lick or Roto.
  • Second run: Collect fruit using Blue or Snailbrow for exploration.
  • Third run: Beat the clock by adding Boo or Toss for speed.

Forgetting about accessibility and comfort

Fast rope cuts and quick taps can be tricky for some players. Families in Canada often share levels, letting different people handle timing versus planning.

  • Let one person handle rope cutting while another suggests which helper to use.
  • Take turns on time challenges to avoid tired hands or rushed mistakes.
  • Use helpers like Lick and Blue to slow down the action and add control.

Continue your Cut the Rope 2 adventure

Now that you know Om Nom and his friends, you are ready to explore more parts of Metroporoleplay's independent Cut the Rope 2 portal.